Astra Training Manager FAQs
Create Benefit Entry via Employee's Profile
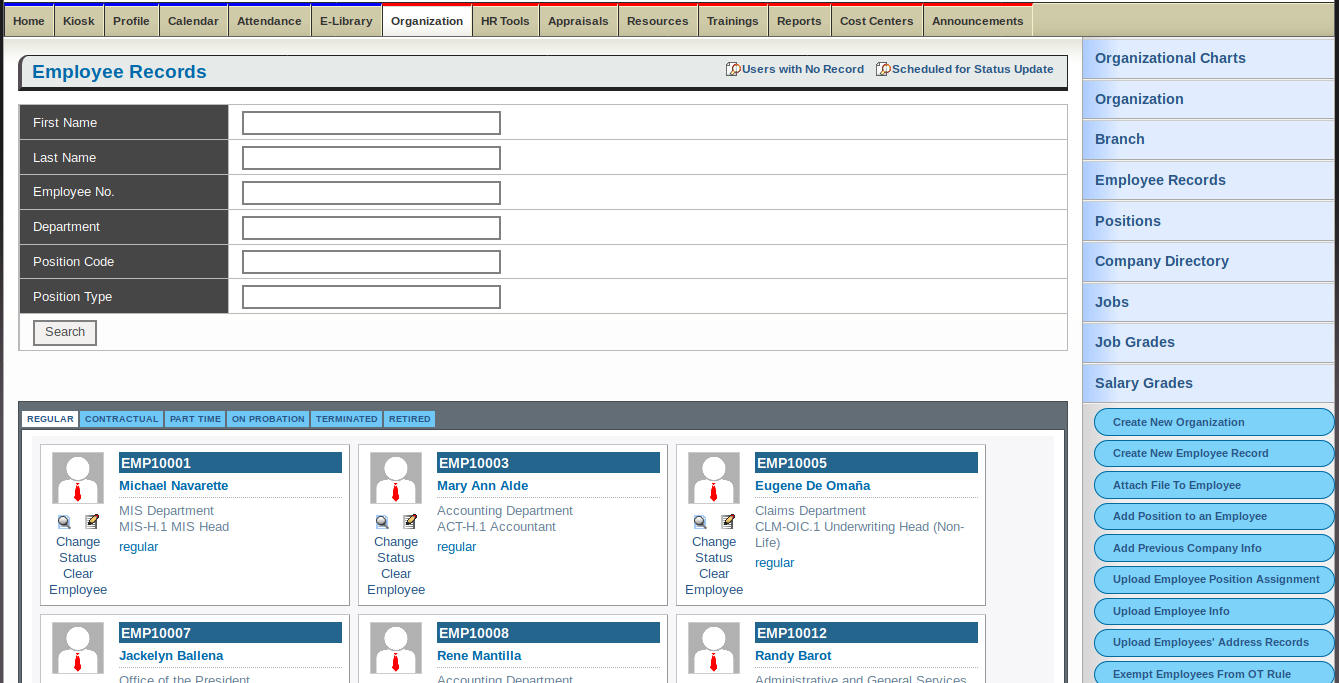
- Click the Organization tab then click Employee Records.
- Search and or view an Employee record.
- From the employee profile, click on the Benefits sub-tab.
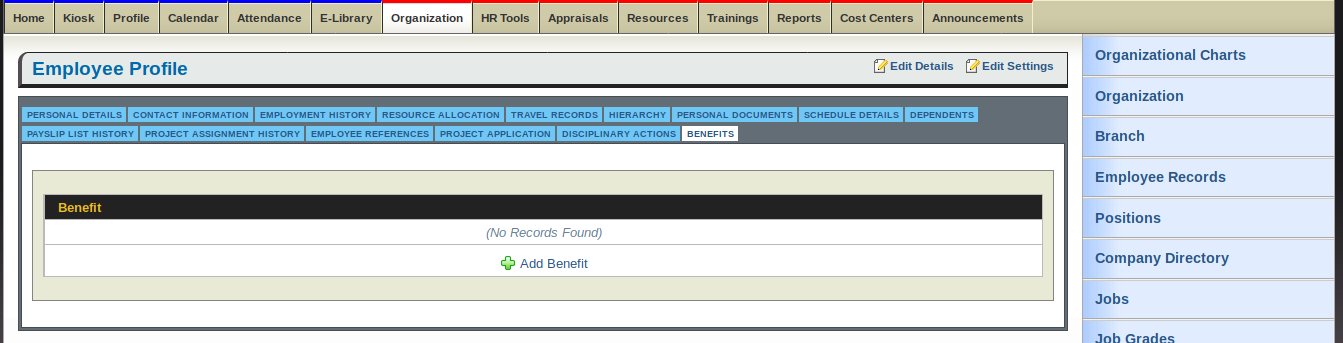
- Click
 to add entry.
 - Fill in Employee Benefit entry form and add documents as needed.
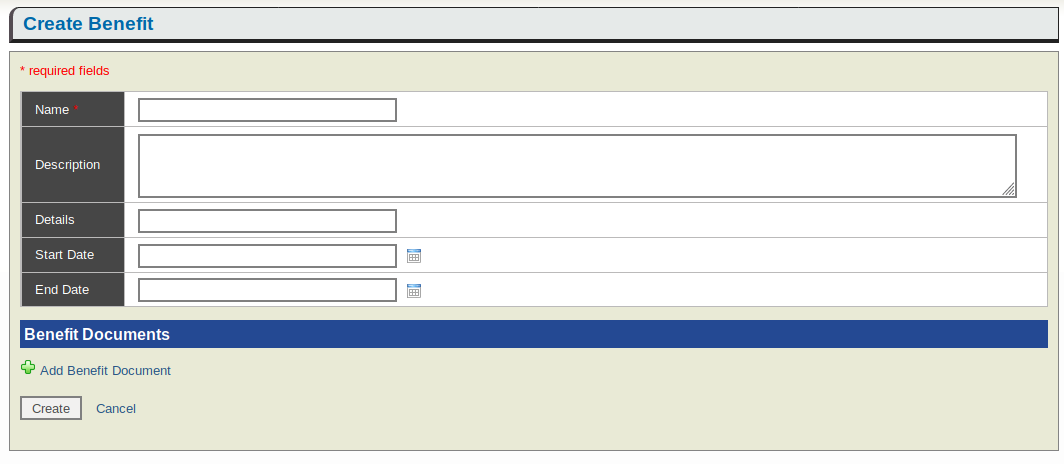
- Click Create button to save entry.
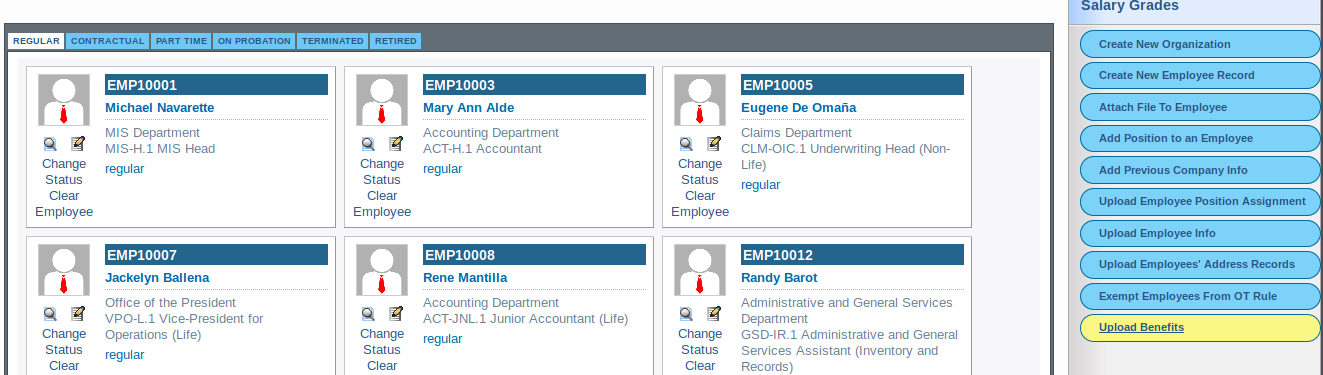
Batch upload Employee Benefits
- Employee Benefit batch upload through the Upload Benefit button at the sidebar.
- Download the Employee Benefit Batch upload template by clicking
 .
.
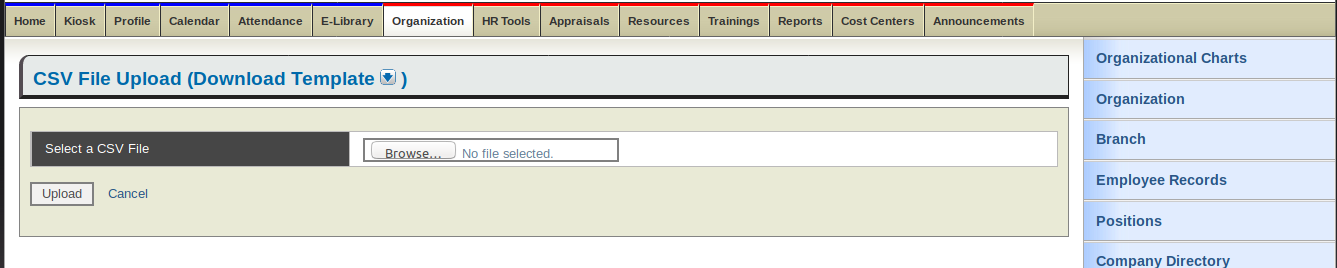
- Edit and update the CSV template with the proper Employee benefit entries.
- From the CSV FIle form, browse and choose the updated CSV file then click Upload button.
- Click on the elibrary tab
- In the elibrary tab, click the Create New elibrary entry button in the sidebar.
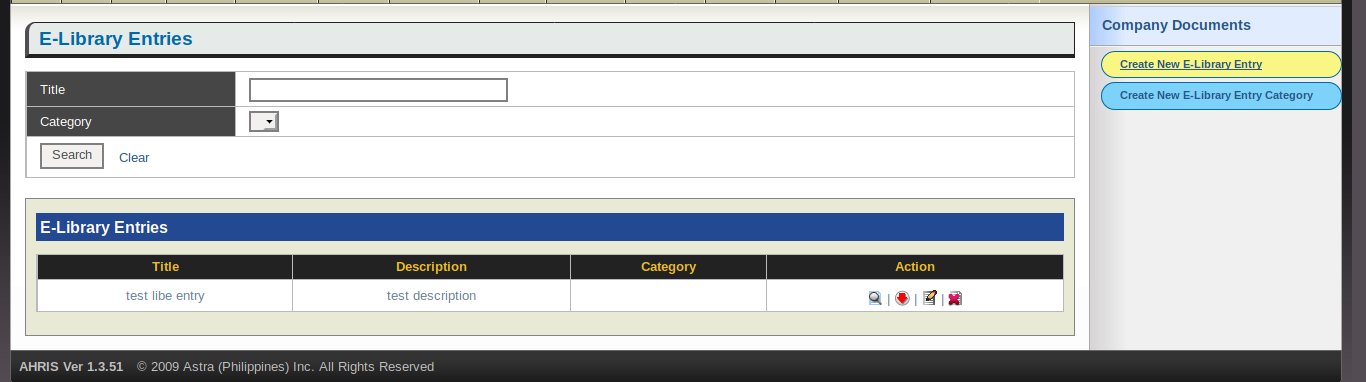
- Fill out the necessary fields, select category and click create.
- To view, click
 from the E-Library Entries page.
 - To edit, click
 from the E-Library Entries page.
 - To delete, click
 from the E-Library Entries page.
 - To add a new E-llibrary category, click Creat New E-library Category button in the sidebar. Fill out the form and click Create button.
An employee can use the E-library to download available files.
- While logged in as an employee, go to the elibrary tab.
- Look for the file that you need and click the
 download button.
Once an employee opens a memo, on the bottom left there is a button for acknowledging the memo. The HR Manager that sent the memo can view if a memo has been read and if it has been acknowledged.
Adding New Announcement
- Click the Announcements tab
- Click Create New Announcements.
- Fill in the New Annoucements form.
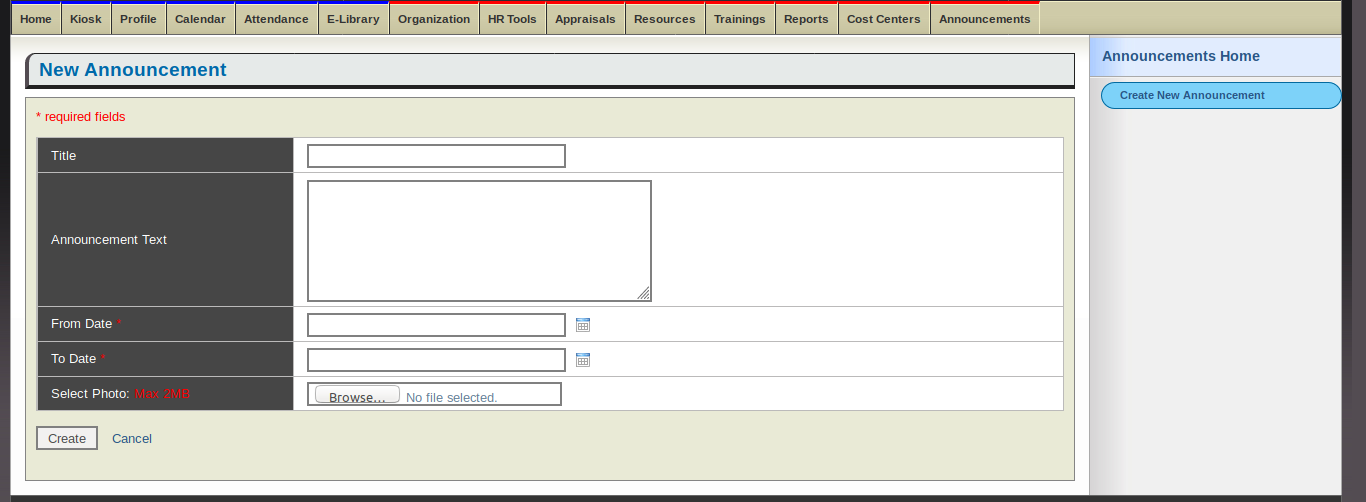
- Set the date range to display the Announcement.
- Browse and attach an Announcement image if ncecessary(will display a default image if no image is attached).
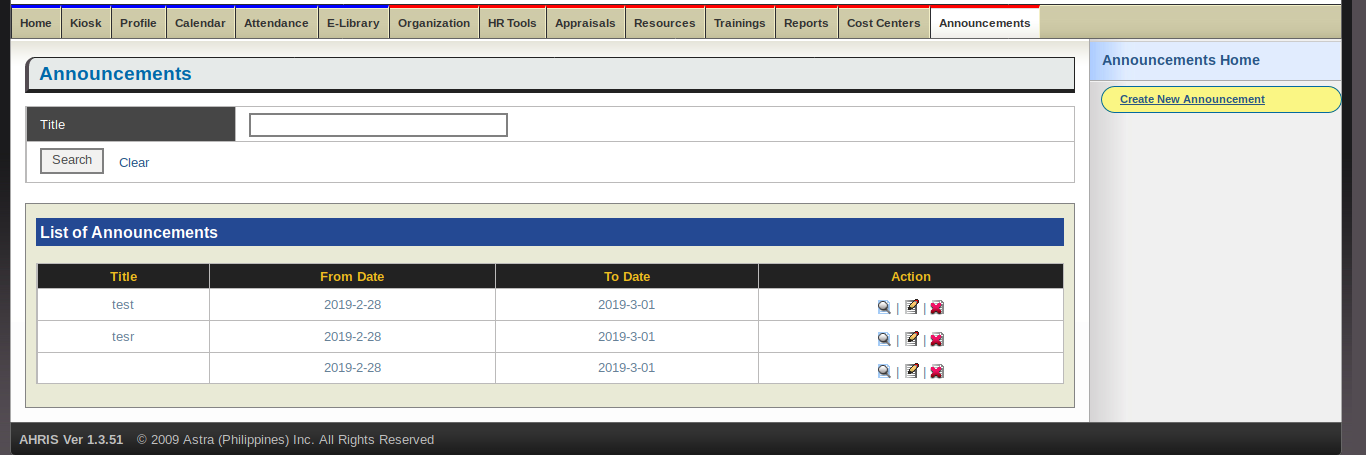
Editing or Deleting Announcements
- Click on the Announcements tab to view the list of announcements.

- Click to edit an announcement
- Click to delete an announcement.
- As an HR manager: Initiate an Appraisal Period under the appraisal's tab
- As an employee: Upon HR manager's initiation of an appraisal period, go to the appraisals tab and create a goal.
- As an employee's approver: Via the dashboard, one can go to the action items and click a link towards a list of employee goals you can approve. One can also access this link through the Appraisals tab. Next, select a goal to approve through the magnifying glass action.
- As an employee: Upon goal approval, go to appraisals tab, and create a Performance Appraisal
- As an employee: On the Performance Appraisal form, one can save it as a draft, or save and submit to for verification to the approver.
- As an employee's approver: Via the dashboard, one can go to the action items and click a link towards a list of employee appraisals one can verify. This link can also be accessed through the Appraisals tab.
- As an employee's approver: One can edit any of the employee's answers to the form to verify the answers, or fill in blanks the employee may have left. The update button must then be clicked to verify the appraisal.
- As an HR manager: You can then view or tag for completion the Performance Appraisal under: Appraisals Tab > Manager Appraisal
The HR Staf Role can be assigned in 2 ways:
- Using the Admin Account and setting the role of a user to HR Staff.
- Using an HR Manager Account and editing the employee record field HRIS Role Type.
The HR Staff Role basically has the same access as the HR Manager Role except for the verification of leaves, overtime and business trips.
The Accounting Analyst Role can be assigned by using the Admin Account and setting the role of the user to Accounting Analyst.
The Accounting Analyst Role can do the following:
- Create Recurring and Miscellaneous Entries via the Administration Module.
- Assign Recurring and Miscellaneous Entries to an Employee.
- Edit Recurring and Miscellaneous Entry details in the Employees' Profile.
- Upload Miscellaneous Entries via the Employee Records Module.
- Logged in as an employee, go to Kiosk
- Go to Excuse Slips Home
- Click Create Excuse Slip.
- Submit your Excuse Slip and wait for it to be approved
The approval is similar to leaves and overtimes. The employee creates the excuse slip request, then their approvers will approve it.
Go to the the HR tools tab and then click on the Excuse Slip Management page in the sidebar.
From the Employee Profile tab
- Go to employee profile Disciplinary Action sub-tab.
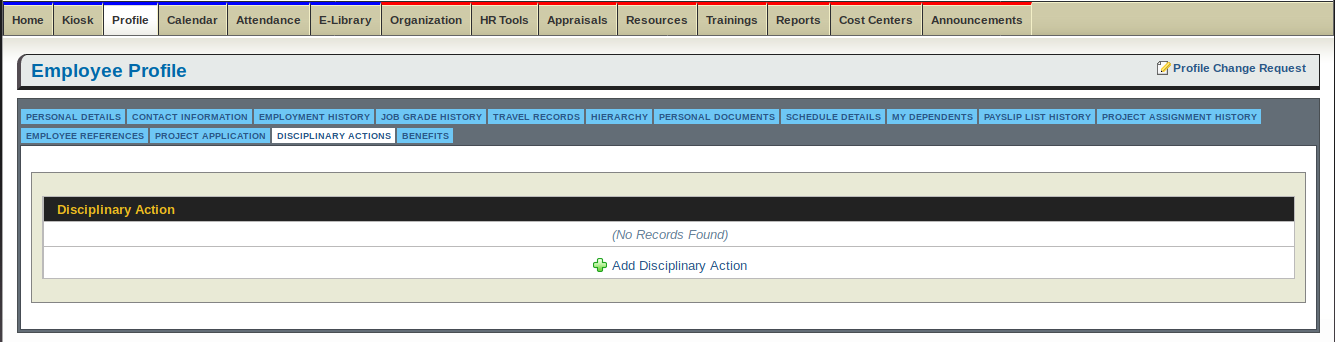
- Click
- Fill in Disciplinary action form.
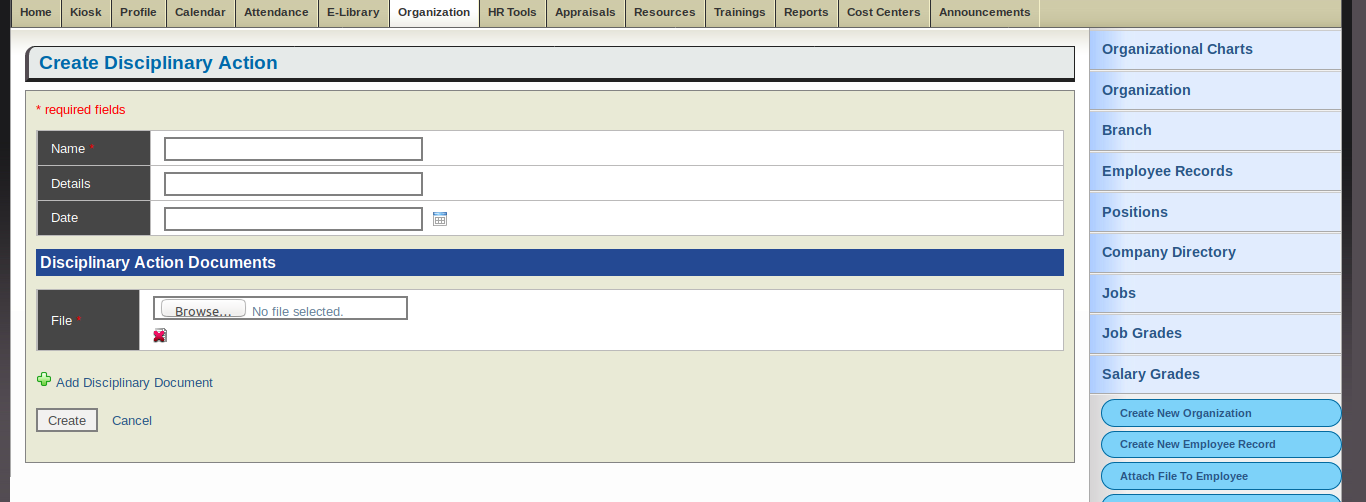
- Add Disciplinary Action Documents.
- Click Create button
Editing/Deleting Disciplinary Action Entries.
- From the Disciplinary Action tab,Click to edit entry.
- Click to delete entry.
- Go to the Report tab

- Click summary link of the "List of Leave Counts Per Department" under Other Reports
- Set the department, from date, and thru date and click Generate CSV file